Christmas Stockings Drawing Easy 2024: Step-by-Step Guide For Beginners
Christmas Stockings Drawing Easy 2024: Step-by-Step Guide for Beginners
Related Articles: Christmas Stockings Drawing Easy 2024: Step-by-Step Guide for Beginners
- Christmas Star Pictures Images 2024: A Guiding Light For The Holiday Season
- Christmas Quotes For Children: Magical Words To Inspire Holiday Cheer
- Christmas Recipes From BBC 2024: Festive Feasts To Delight Your Taste Buds
- Christmas Sale Slogans 2024: Unlocking Festive Cheer And Enchanting Savings
- Christmas Sale Fur Rugs 2024: Indulge In The Ultimate Festive Luxury
Introduction
With great pleasure, we will explore the intriguing topic related to Christmas Stockings Drawing Easy 2024: Step-by-Step Guide for Beginners. Let’s weave interesting information and offer fresh perspectives to the readers.
Table of Content
Video about Christmas Stockings Drawing Easy 2024: Step-by-Step Guide for Beginners
Christmas Stockings Drawing Easy 2024: Step-by-Step Guide for Beginners

Christmas is a time for joy, giving, and spending time with loved ones. One of the most cherished traditions of the holiday season is hanging Christmas stockings by the fireplace or on the bedpost. These stockings, often adorned with festive designs and filled with treats and gifts, symbolize the spirit of giving and receiving.
Drawing a Christmas stocking is a fun and easy way to get into the holiday spirit. With a few simple steps, you can create a beautiful and festive stocking that can be used as a decoration or a gift tag.
Materials:
- Pencil
- Paper
- Eraser
- Ruler (optional)
- Markers, crayons, or paint (optional)
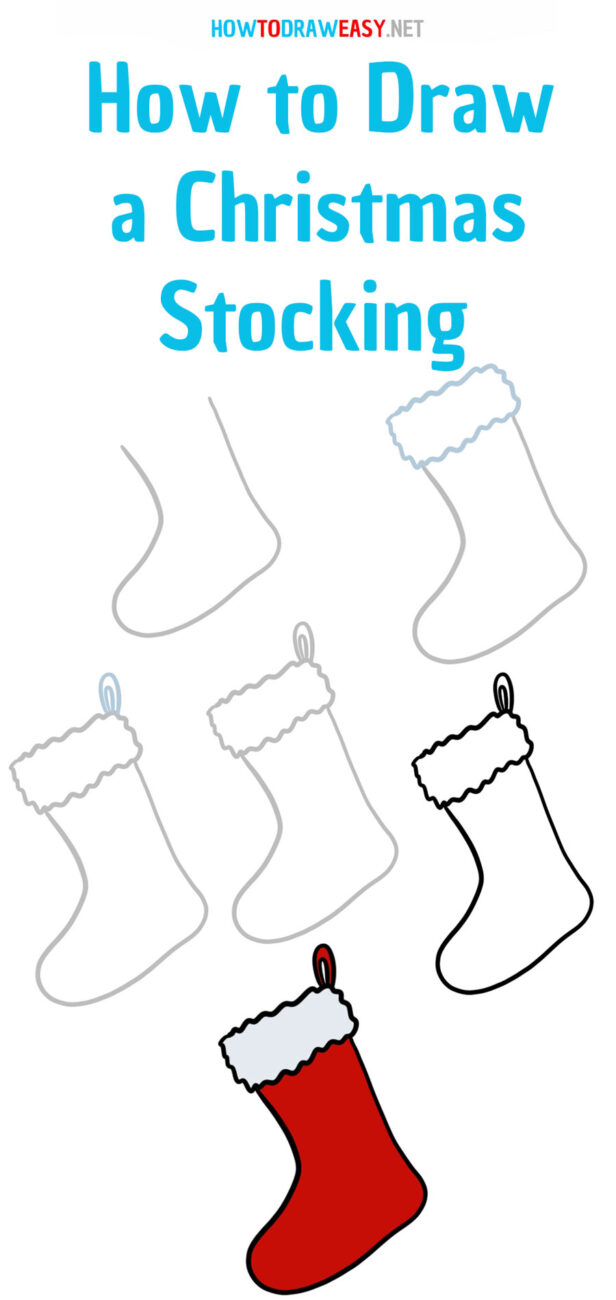
Step-by-Step Instructions:
Step 1: Draw the Basic Shape
Begin by drawing a rectangle. This will form the main body of the stocking. The length and width of the rectangle will determine the size of your stocking.
Step 2: Add the Cuff
Draw a curved line along the top edge of the rectangle. This will create the cuff of the stocking. The shape of the cuff can vary depending on your preference. You can make it straight, curved, or even scalloped.
Step 3: Add the Toe
Draw a triangle at the bottom of the stocking. This will form the toe. The size and shape of the toe can also vary. You can make it pointed, rounded, or even square.
Step 4: Add Details
Once you have the basic shape of the stocking, you can add details to make it more festive. Here are some ideas:
- Draw a fur trim around the cuff.
- Add a bow or ribbon to the top of the stocking.
- Draw a name or initials on the stocking.
- Decorate the stocking with Christmas-themed designs, such as holly, berries, or snowflakes.
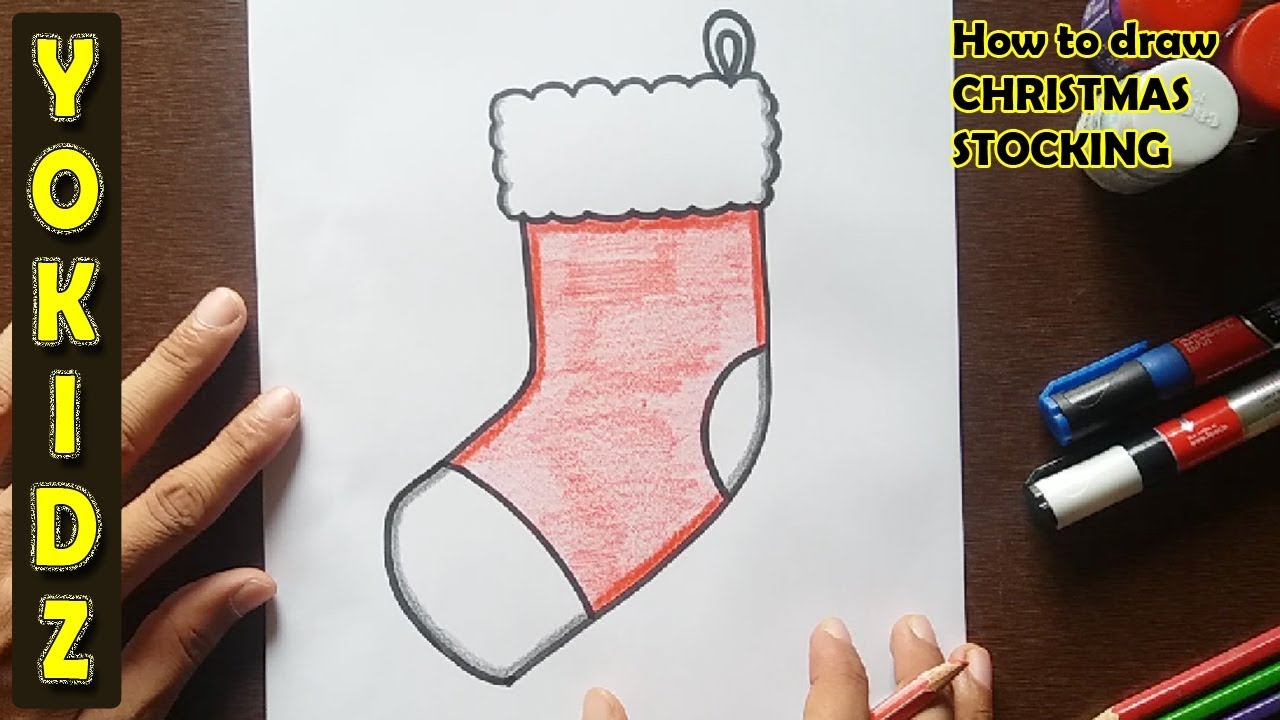
Step 5: Color Your Stocking
Once you are happy with the details, you can color your stocking. You can use markers, crayons, or paint. Be creative and use your imagination to make your stocking unique.
Tips:
- Use a ruler to make sure your lines are straight.
- Erase any mistakes as you go along.
- Take your time and enjoy the process.
- If you are drawing a stocking for a specific person, consider their interests and personality when adding details.
Conclusion:
Drawing a Christmas stocking is a fun and easy way to get into the holiday spirit. With a few simple steps, you can create a beautiful and festive stocking that can be used as a decoration or a gift tag. So grab your pencil and paper and get started!


Closure
Thus, we hope this article has provided valuable insights into Christmas Stockings Drawing Easy 2024: Step-by-Step Guide for Beginners. We hope you find this article informative and beneficial. See you in our next article!